Okay, I know it took some time, but we were hosting Easter at casa FSL which is a very big deal, so it took some time to get the photos uploaded. Without further ado…
If you read the previous post, you’ll know how excited I was about this chair I found at Good Will for $5.99.

I did some serious thinking about the choice of paint color and style of fabric for this chair. I wanted it to contrast in color with the new desk, but somehow work. I also wanted the chair to be able to work as an accent chair in another room in the house if I ever get bored with it in the office (goodness knows how often I move furniture around in this house!). Here’s how it unfolded…
First I flipped the chair over and unscrewed the 4 screws that held the cushion on.

Remove the cushion.
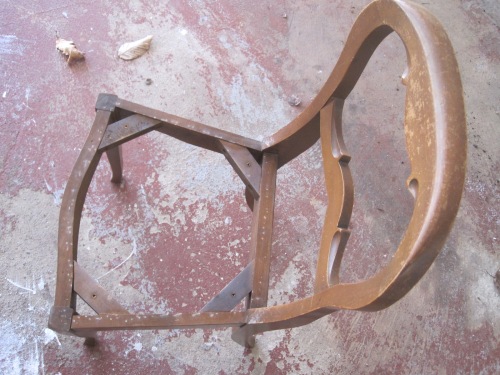
At this point, I realized that the cushion was broken. Yes, I was that excited at the store to find the chair, I didn’t even think to look underneath. Rookie mistake, doh!
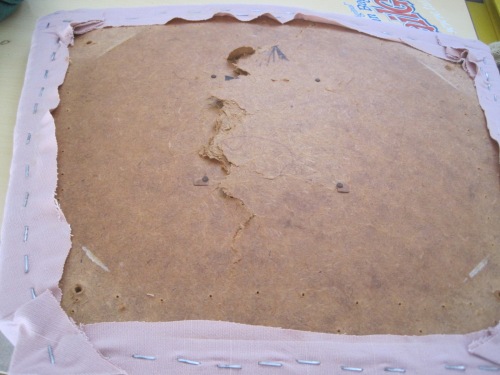
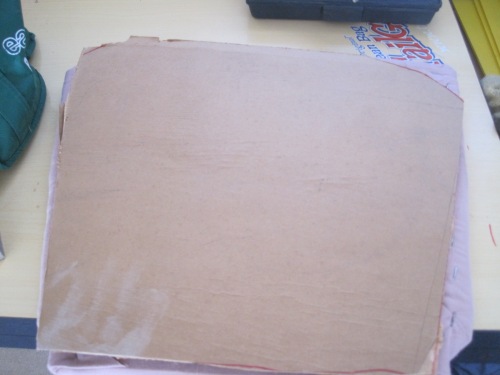
I had to call for back up on this one. Back up was my handyman father-in-law. He came over with some masonite boards and a utility knife. We traced the cushion, then cut it to the correct size.
Next, I sanded the shiny-ish wood until the scratches were pretty worn down.

Holy dust!

I used my husband’s thermal tee some rag I found in the garage 😉 to wipe off the crazy dust.

Since there was so much dust, I used the leftover tack cloth from the desk project to pick up any remaining particles.

Now, I placed plastic underneath the chair to protect the floor for the next step (unlike last time when I destroyed our lawn). I sprayed on 2 thin coats of primer.

I took somebody’s advice & went with Rustolem primer instead of the Valspar I used last time. I should have just stuck with what worked. This stuff took 10 times longer to dry and was so runny!
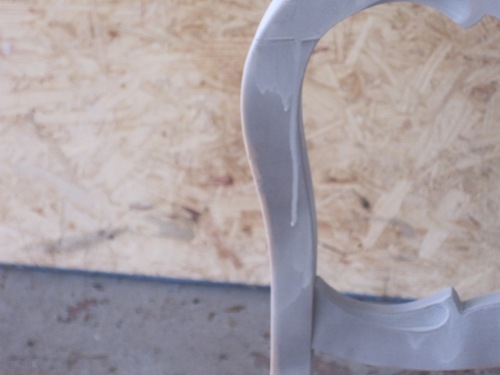
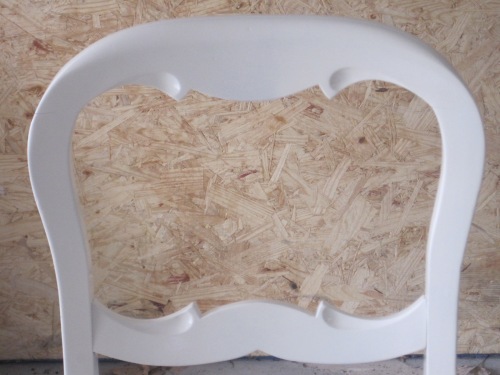
After waiting what felt like 3 years, it was time for color. I chose to go with a neutral color for the paint. I used Rustoleum’s Heirloom White (which, by the way, is a foolproof color –it goes with everything!). A few light coats of that and it was looking good 8) .
Next I had to choose the fabric. I picked out 3 patterns that I finally narrowed it down to. 
I chose the multi-colored one because it had pops of turquoise which is picked up by the desk. I cut a piece of batting and placed it over the old fabric, then tightly wrapped the patterned new fabric over it. I used a staple gun to secure it as best I could to the back.

I was way too excited about the staple gun! It’s definitely my new favorite tool.

HahHAHaH! I look nuts!
I screwed the masonite onto the back of the broken piece and screwed the cushion onto the chair frame.
I added decorative nail heads to add some attitude!

This is what I ended up with. I’m stoked considering it was my first time, and I had a broken chair to start with. What do you think?

Rocco was diggin it too.


Cool project! Good job!
super cute!! your such a crafty gal. Love it.
Lookin good!!!!
Nice job! it looks fantastic!
good job! love that “keep calm” on the wall 🙂
great job!! love the result! gorgeous pattern on the chair and i love the blue dressing table with the keep calm and carry on sign on the wall!
I’m blog hopping from homemakeronadime creative bloggers’ party and hop!
Susan @ http://tea-diary.blogspot.com
It’s perfect. Good pick!
It’s perfect! I love it! So well done.
P.S. Now I will think about sipping my AM protein shake in a martini glass each day! 😉
LOL! I swear, I used to do it for my evening shake 😉
Oh what a great transformation! You did a wonderful job. I wanted to let you know that I have hit a milestone on my blog and am having a giveaway of our all natural organic products. I hope you will enter.
It looks really pretty! Great job!
Oh, I love it, Mindy! So colorful:)
I gotta confess, I’m on the lookout for something for my kitchen and I just can’t wait to paint it the same color as that desk of yours.
Lena
YAY! I can’t wait to see what you come up with 😉
So cute!!!!! Love the fabric you went with =)
Thanks Carrie! I really like it too. I can change up the accent colors when I want and the chair will match no matter what!
SO cute, great job!!
Thanks Lisa!
xo
Mindy
Ahhh! You are so handy!! I need some lessons! Awesome chair!! Your teeth are soooo white, btw! HOW?!?!?!
Trust me, if I can do it, you can do it!
LOL! I think it’s genetic. My sister & my mom have super white teeth! Thanks 😀
xo
Mindy
Now that’s what I’m talking about. Looks great Mindy. And if you ever feel like it, you’ve got two other fabric options.
Yay!!!!!!
D
I’m thinking small pillows for the living room 🙂 My wheels never stop turning!
Oh yeah, some cute accent pillows would look fab!!!!
Amazing job! Love it both paired together now, the desk and the chair!
Thanks Nance! I love it too!
this is so cute!!!! love the little doggie too haha. 🙂
This looks awesome!! you are the next Martha Stewart!
I wish!!! Thanks for the compliment!!
xo
Mindy
Wow, you’re DIY-awesome, Mindy 🙂
Thank you Tien! I think you’re quite awesome too 😉
xo
Mindy
I LOVE it! Such as clever idea! You’ve got me all inspired to go in search of some old furniture now! You’re so creative. Thanks for the pics – I will definitely try myself!
Kate
engLandofOz.wordpress.com
Thanks Kate! If you re-do anything, send me the photos! Good luck 🙂
xo
Mindy
Looks like someone else is addicted to junk furniture and paint….once you start, you can’t stop….until your house fills up. 😛
OMG Michelle! It’s getting really bad! My eyes light up every time I see a chair on somebody’s curb that they’re throwing out! I’ve banned myself from craigslist for a week or two. It’s getting ridiculous!
xo
Mindy
Your chair re-do is looking great! Really appreciate you sharing this great post with us at the Creative Bloggers’ Party & Hop.
Thank you for having such a sweet par-tay!
oh my gosh! TOO cute and I LOVE the pup in your picture!!! Also, the fabric choice was perfect for the chair- modern and it brought in some of the color from the table without being matchy-matchy. 🙂
That’s exactly what I was thinking 😀
xo
Mindy
Mindy, I think you are my new favorite DIY person!!
Thanks Pen!
Hi Mindy
I’ve started renovating furniture and was looking for a quicker way than hand painting – so thanks you for the spray painting tips! I’m in the Uk and assuming I can get the same stuff! How did you get the stud effect on the chair??
Thanks!
Emma
I bought silver nail-head studs and hammered them in. Simple simple. I’d love to see photos of your re-do!
Love! Where did you get your fabric. I have been looking for something exactly the colors in the blue/turquoise one. Please inform me.
Hi! I actually scored this for a dollar at Joanne Fabrics. It’s a fabric square. I think people use those for quilting but it was just the right size for this project.
Wow!!! They both look amazing thanks for the instructions Im getting ready to do both projects and several more. You are very talented:)
😉 😉 😉
Nice! Email me before & after photos & I’ll post them as a reader redo! FindingSilverLinings@gmail.com